Guide to Kayaking: Getting Started and Essential Tips
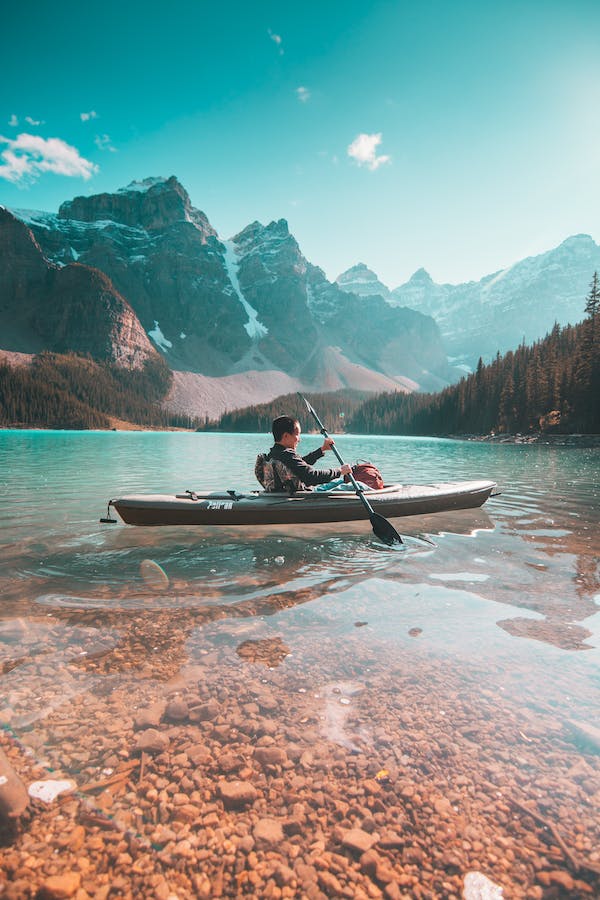
Kayaking, an exhilarating water sport, offers a unique opportunity to explore hidden coves, meandering rivers, and tranquil lakes, unlocking a world of adventure and serenity. It’s a versatile water sport and a fun way to spend quality time with friends and family while exploring nature from a new point of view.
If you’re seeking an exciting way to explore the open waters, kayaking may be the perfect activity to try. To get started, here’s a guide to inform you what you need to know:
What is Kayaking?
Kayaking is a recreational water sport or activity that involves paddling a small boat called a kayak. A kayak is a narrow, lightweight vessel typically made of plastic, fiberglass, or other materials, designed to be easily maneuvered in various water conditions.
In kayaking, the driver should navigate through the water by facing forward and propelling ahead with alternating side-to-side paddle strokes. The paddler sits in a cockpit with legs extended beneath a closed deck, exposing the upper body. Kayaks are propelled using a double-bladed paddle, with one paddle blade on each end.
You can kayak anywhere with a large enough body of water. You can easily strap a kayak to the roof of your car and drive to a lake, river, creek, or sea. Generally, high-traffic waterways may be off-limits for kayaking to avoid boating accidents.
Kayaking is popular among outdoor enthusiasts and adventure seekers who enjoy exploring nature and waterways. It can be done individually or in groups, and it offers a range of experiences, from tranquil paddling on calm waters to more challenging whitewater rapids and sea kayaking in coastal areas. It provides an opportunity to enjoy the beauty of the natural environment, observe wildlife, and engage in physical activity.
What is the Best Season and Weather Condition to Go Kayaking?
Kayaking is easy and accessible, always in season. But when it comes to the best one, it depends upon the region and preferences. Generally, spring, summer, and autumn offer ideal conditions for enjoyable kayaking trips. The warm weather during these seasons makes engaging in the sport easier and exploring different areas, whether for recreational purposes or more challenging routes.
Winter, on the other hand, presents more hazards and is considered a riskier time for kayaking. The colder weather can be uncomfortable, and the water temperature may be too cold for safe paddling. In some regions, ice can pose additional dangers. Winter kayaking trips often require expert guidance and extra precautions for safety.
As for the weather, warm and dry weather is best. However, you will still need to pay close attention to the weather forecast and other signs of changing weather. Going for a spontaneous kayaking trip can be fun, but you don’t want to get caught in bad weather or conditions your skills can’t handle.
As a beginner, you may want to avoid these conditions:
- Fog, as it reduces visibility and muffles sounds
- Windy and rainy conditions as it makes it harder to maneuver and see with your kayak
- Polluted water, as you may accidentally expose yourself to harmful bacteria if you fall into the water
- Busy waterways with lots of boat traffic for the safety of everyone
- Unstable weather conditions, since you don’t want to get stuck on a kayak in a dangerous weather
Types of Kayaking
There are several types of kayaking, each with its own characteristics, equipment requirements, and environments. Here are some of the main types of kayaking:
1. Recreational Kayaking
This is the most common form of kayaking and is suitable for beginners and casual paddlers. Recreational kayaks are stable, easy to maneuver, and designed for calm waters such as lakes and slow-moving rivers. It’s a great way to enjoy a leisurely paddle and explore scenic areas.
2. Sport Kayaking
Sport kayaking adds some intensity to the experience, as it can include white water courses or races for a low-impact workout. It’s a way for anyone to take the sport to the next level, which is excellent for those who like to chase adrenaline or join a competition.
3. Touring Kayaking
Touring kayaking involves longer trips and journeys, often spanning multiple days. Touring kayaks are designed for efficiency and stability, with more storage space for camping gear and supplies. This type of kayaking is suitable for exploring coastal areas, large lakes, and rivers with moderate currents.
4. Sea Kayaking
Sea kayaking is the most immersive form of kayaking. It occurs in coastal or open water environments, often along coastlines or ocean bays. Sea kayaks are longer, narrower, and more streamlined than recreational kayaks, offering better performance in waves and wind. A certain level of experience and knowledge of terrain and logistics is required for sea kayaking.
5. Whitewater Kayaking
Whitewater kayaking is an adrenaline-filled adventure on rivers with fast-moving, turbulent water and rapids. Whitewater kayaks are designed to be maneuverable and responsive, allowing paddlers to navigate through obstacles and challenging water features. It requires skill and experience to safely navigate whitewater environments.
6. Kayak Fishing
Kayak fishing combines the sport of kayaking with angling. Specialized fishing kayaks are equipped with features like rod holders, storage compartments, and stability for casting. Kayak fishing allows anglers to access remote fishing spots and enjoy a quiet and immersive fishing experience.
7. Surf Kayaking
Surf kayaking involves riding ocean waves using specialized kayaks designed for wave performance. Paddlers use their skills to catch and ride waves, performing maneuvers similar to those seen in surfing. Surf kayaking is popular in coastal areas with suitable wave conditions.
8. Kayak Polo
Kayak polo is a team sport played on a flatwater or pool surface in kayaks. It combines elements of kayaking, water polo, and basketball. Teams compete to score goals by throwing a ball into the opposing team’s net while maneuvering their kayaks.
These are just a few examples of the various types of kayaking. Each type offers unique experiences, challenges, and opportunities for exploration, allowing kayakers to engage with nature and enjoy the water in different ways.
Equipment for Kayaking
When it comes to kayaking, having the right equipment is essential for your safety and enjoyment. Here are some key pieces of equipment you will need for kayaking:
1. Kayak
The first and most obvious piece of equipment is a kayak itself. It’s the narrow watercraft that you need to sit in. Consider factors like stability, maneuverability, and the type of water you’ll be paddling in.
When you’re starting out, you’re probably not going to buy a boat immediately, although that’s an option. Here you can rent a kayak from an on-the-water outfitter, so you don’t have to deal with transporting the boat. You can also borrow a kayak from a friend if you have a kayaker in your social connections. Or you can sign up for a class or a tour that provides the kayak.
Choose a kayak that suits your intended activity, such as:
- Recreational kayak – It has a wide and stable hull and is designed for calm, calm waters such as lakes and slow-moving rivers.
- Touring kayak – Also known as sea kayak or expedition kayak, touring kayaks are designed for longer journeys and multi-day trips. They have a longer, narrower profile for better speed and efficiency and usually have more storage space.
- Sit-on-top kayak – This is a popular recreational kayak with an open deck design with a molded seat on top rather than inside a cockpit. It’s excellent for beginners as they are wider and offer more stability.
- Whitewater kayak – This is built to navigate fast-moving rivers and tackle rapids. They are shorter, more maneuverable, and often have a planing hull for stability in turbulent water. Whitewater kayaks may be further categorized into playboats (designed for freestyle tricks), river runners (suited for various river conditions), and creek boats (specifically for steep, technical rivers).
- Fishing kayak – This type of kayak is specifically designed for anglers. They often have features such as rod holders, storage compartments, and mounting points for fishing accessories.
- Inflatable kayaks – These are made from durable and puncture-resistant materials that can be inflated or deflated for easy transport and storage.
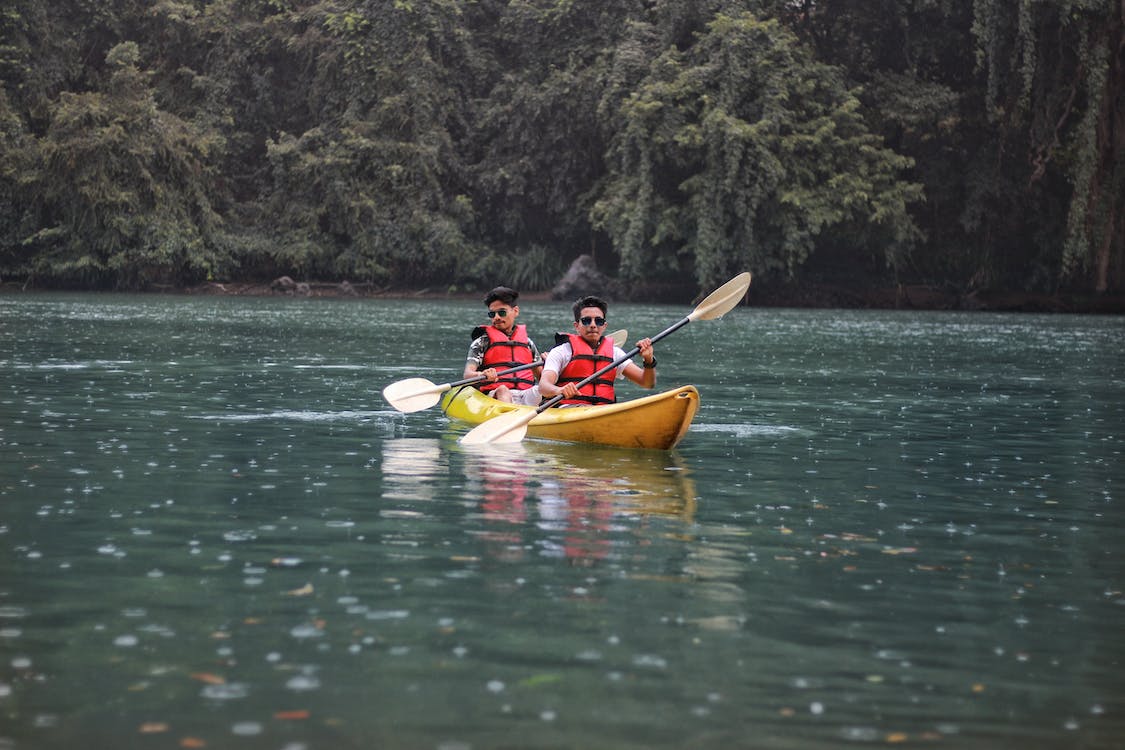
- Tandem kayak – Tandem kayak is designed to accommodate two paddlers.
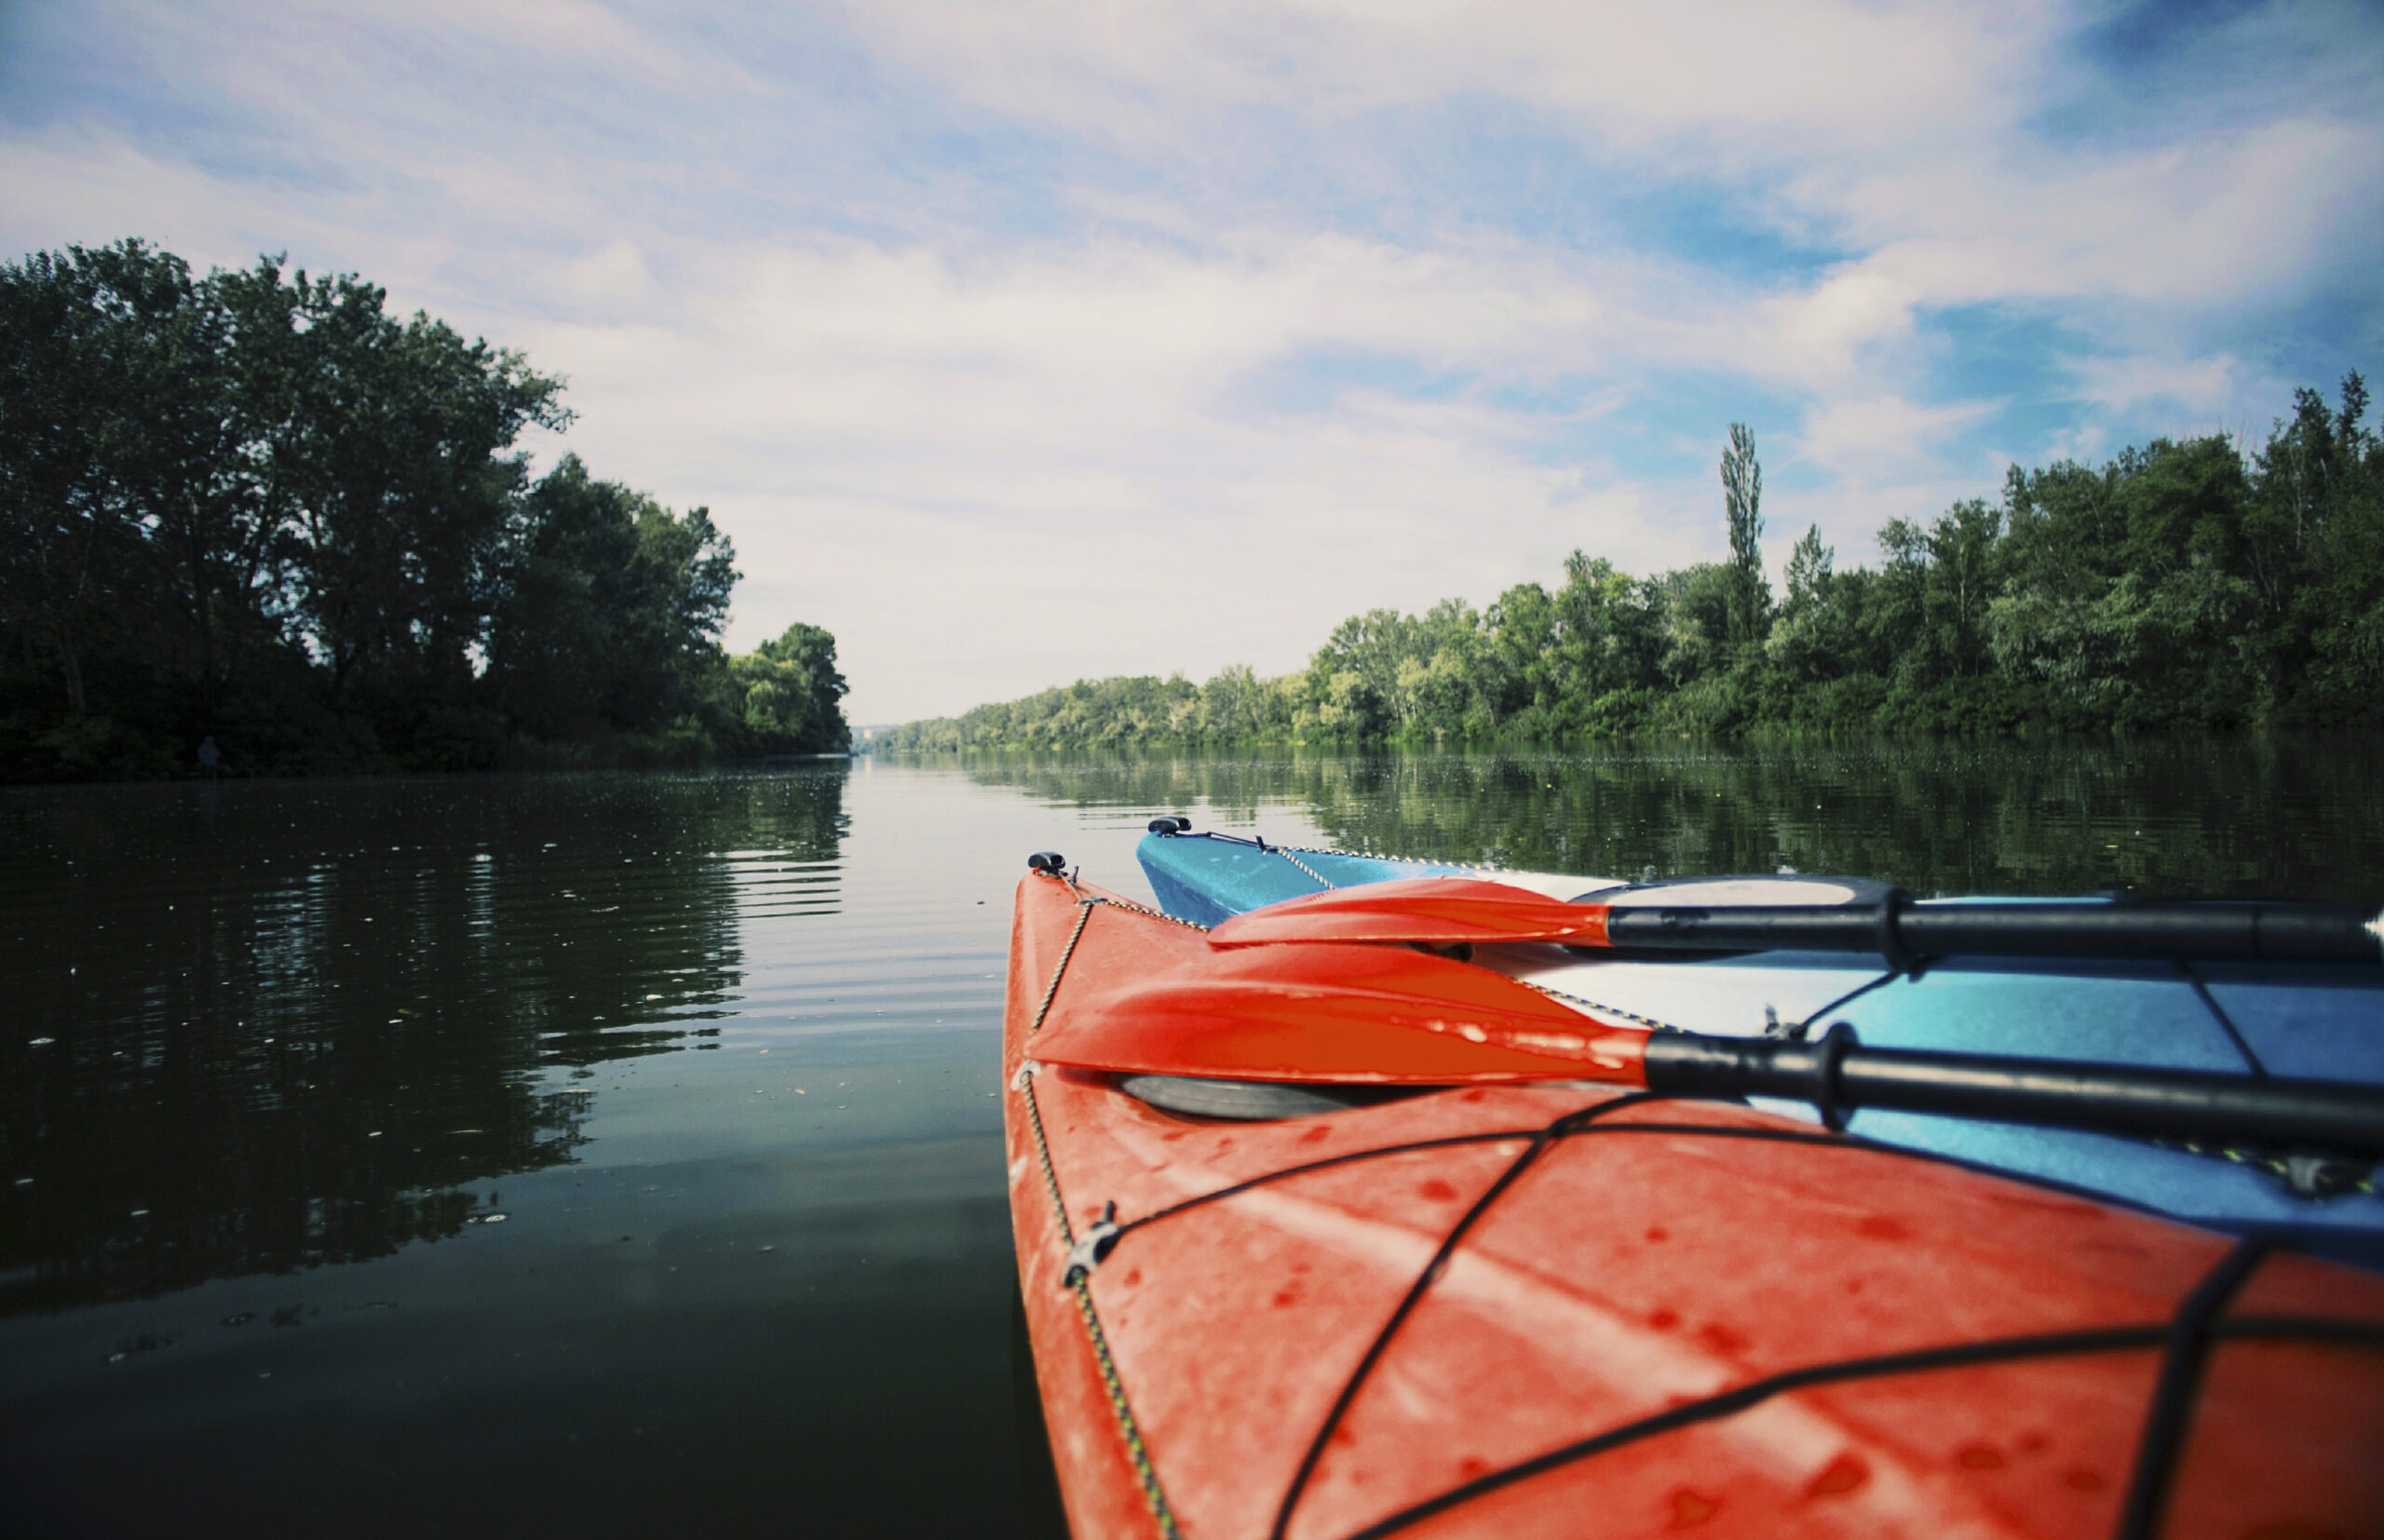
2. Paddle
A kayak paddle is used to propel and steer the kayak. It comes in different materials like aluminum, fiberglass, and carbon fiber, each offering different levels of durability, weight, and performance. Before choosing a paddle, consider the width of the kayak you’ll be paddling and your torso measurements. There are sizing charts available so you can select the most suitable paddle for your body measurements, but generally, torso lengths that are more than 28 inches need paddles that are 200 cm long or more, while torso lengths less than 28 inches will use paddle lengths below 200 cm.
Always bring a spare paddle for backup in case you accidentally lose or damage the one you’re using.
3. Personal Flotation Device (PFD)
A PFD, also known as a life jacket, is a crucial piece of equipment for engaging in any watersport. Choose a PFD that is approved by relevant safety standards and fits properly. Make sure it is comfortably snug and allows freedom of movement while providing adequate buoyancy.
4. Protective Clothing
Wear appropriate clothing for kayaking, considering the weather, water temperature, and sun exposure. Quick-drying and moisture-wicking materials are ideal for warm-weather outings, while a wetsuit or dry suit may be necessary for colder conditions. Don’t forget a hat, sunglasses, and sunscreen for sun protection.
5. Footwear
Use suitable footwear that provides protection and grip. Water shoes, neoprene booties, or secure straps sandals are popular. Avoid wearing flip-flops or shoes that can quickly come off in the water.
6. Safety Gear
Additional safety gear may be necessary depending on your location and the conditions you’ll be kayaking in. This can include:
- Bilge pump – for removing water from the kayak
- Whistle or signaling device – for alerting others during an accident or emergency
- Tow rope – if in case you need your kayak towed in instances you suddenly can’t paddle
- River knife – for cutting your kayak lose if you end up in an old fishing net or rope
- Safety goggles – for paddling out into challenging waterways
7. Spray Skirt (optional)
For kayaking in rougher water or sea kayaking, a spray skirt can be used to cover the cockpit opening and keep water from entering the kayak. This is not required for all types of kayaking but can enhance comfort and safety in certain conditions.
8. Dry bag
Bring a waterproof bag to put your personal belongings in, like a phone, wallet, keys, and other essentials, to prevent them from getting wet.
Remember to regularly inspect and maintain your equipment to ensure it remains in good working condition. Always prioritize safety and choose equipment appropriate for your skill level, environment, and the type of kayaking you’ll be undertaking.
Kayaking Basics to Learn
Now that you know what you need for kayaking, let’s get to the kayaking proper. Here’s what you need to know for getting into and moving around in the kayak itself.
How To Get Into A Kayak From The Shore
Entering your kayak from the shore is a breeze, especially if you’re new to kayaking. Whether you’re by a lake, beach, or river, here’s a simple way to start. Move the kayak as close to the shoreline as possible. Sit in the kayak and use your arms to push yourself into the water until you’re floating on the surface. If you’re worried about scratching the kayak’s hull, you can enter from shallow water instead.
Keep in mind that the ease of entering your kayak depends on the type of shoreline. It could be a riverbank, lakeside, or sandy beach.
Regardless of the terrain, the process is similar:
- Align the kayak parallel to the shore.
- Stabilize yourself by placing the paddle at a 90-degree angle behind the seat, with half of it on the shore and the other half resting on the kayak.
- Sit on the half of the paddle that’s on the shore and put your feet into the kayak.
- Swiftly slide along the paddle and onto the kayak while holding onto the paddle underneath and beside you. The paddle and the kayak will support your weight during this movement.
- Get into the seat, stay low, and enter smoothly. Keep your balance and remain calm.
- Place the paddle across your lap. Use your hands or the paddle for an extra boost to push off the shoreline.
How To Get Into A Kayak From The Dock
Getting into a kayak from a dock can be a little tricky, but with some finesse, you’ll master it in no time. Follow these steps for a smooth entry:
- Lower your kayak from the dock onto the water’s surface, ensuring it remains parallel to the dock.
- Position your paddle within easy reach of the seat. To prevent the kayak from shifting, you can place one end of the paddle on the dock and the other on the kayak.
- Remember, the lower you are, the easier it will be to get into the kayak. Sit on the dock’s lowest point, as close to the kayak as possible.
- While sitting on the edge of the dock, first lower your feet into the kayak. Then, swiftly shift your body toward the front of the kayak and lower yourself into the seat.
If you want to simplify this process, you may consider using a docking system with an attached launch. These systems are designed to provide stability and make it easier for kayakers of all skill levels to get in, launch, and dock their kayaks.
How To Get Into A Kayak From Deep Water
Sometimes you might need to get into your kayak from deeper water, especially if you fall from the kayak in the middle of your journey. It can be challenging, but you'll succeed with some patience and stability. Here’s a straightforward method to help you:
- Place one hand on each side of the kayak, with one hand near you and the other across the seat opening.
- Pull yourself onto the kayak so your belly button is over the seat. Your legs will still be in the water, about halfway submerged.
- Twist your body around to lower your bottom onto the seat. While your legs will still be hanging in the water, most of your body will be inside the kayak now.
- Ensure that the kayak is stable. Then, bring your feet into the kayak and position them in front of you.
By following these steps and maintaining stability, you’ll successfully enter your kayak from deep water. Take it slow and steady; soon, you’ll be ready to enjoy your kayaking adventure.
How to Position Your Body in the Kayak
Your posture and body position plays a great role in balancing and comfort. Here’s how to efficiently position your body in the kayak:
- Once you’re in the kayak, sit up straight with your back aligned and extend your legs in front of you while slightly bending your knees.
- Make sure your hips are firmly against the seatback. This posture allows you to engage your core, providing stability and power with each paddle stroke without straining your back.
While maintaining a straight back is substantial, finding a comfortable position is essential. You don’t want to feel too tense during your kayaking adventure. Most kayaks have an adjustable backrest that you can tighten or loosen to find a comfortable, straight position that avoids putting pressure on your lower back.
You also need to position your feet correctly. For sit-in kayaks, you’ll find footpegs near your feet. Here’s how to put your feet in the right position:
- Place your feet on these pegs with slightly bent legs, allowing your knees to naturally touch the side of the kayak.
- If this position feels uncomfortable or your legs are too extended or too close to your body, adjust the footpegs before starting your journey. You can adjust the footpegs by tilting and sliding them along the track.
- When your knees are slightly bent and in firm contact with each side of the kayak, it indicates that the balls of your feet are in the right position. This foot position enables better control of the kayak’s motion as you paddle.
How to Hold Your Kayak Paddle
To ensure a proper grip on your kayak paddle, follow these steps:
Start by holding the paddle with both hands and positioning the shaft on top of your head. Your elbows should be bent at a 90-degree angle, indicating the correct starting position.
Lower the paddle and adjust your grip to hold it correctly using the following guidelines:
- Check that the paddle blades are aligned with each other. If they appear offset, your paddle may be “feathered.” In this case, adjust the blades back in line using a push-button or twist setting on the center of the shaft. (Feathered blades are more efficient against the wind but may be trickier for beginners.)
- Observe each paddle blade and ensure that the longer edge is on the top. This position allows for smooth and efficient movement through the water. (If your paddle blades have a uniform shape, either side can be facing up.)
- Confirm that the concave sides of the paddle blades are facing you. Pay close attention to the subtle curvature of the blades.
- Place your large knuckles on top of the paddle shaft, aligning them with the top of the paddle blades.
- Maintain a relaxed grip. Create an “O” shape with your thumb and index finger, gently resting your other fingers on the shaft. Holding the paddle tightly is unnecessary and can lead to quicker hand fatigue.
How to Paddle in a Kayak
Mastering the proper techniques in kayaking is essential, especially for beginners. You are ready to start your adventure after knowing how to hold the paddle properly.
To paddle a kayak effectively and prevent injury, it’s crucial to hold the paddle correctly. The shaft of the paddle should be gripped slightly wider than shoulder width apart, ensuring a secure hold. A common mistake made by beginners is improper paddle grip.
When placing the paddle blade in the water, make sure the concave side faces you. Keep your knuckles pointed upward and maintain a relaxed yet firm grip on the shaft. This form maximizes your paddle power while conserving energy.
Now, follow these steps to paddle efficiently:
- Sit in your kayak with a straight back, legs extended in front of you. Adjust your seating position until you feel comfortable. Bend your knees slightly and rest them against the side of the kayak.
- Many kayaks have footpegs near the front. Position your feet on these footpegs with a slight bend in your knees. Adjust the footpegs if your legs are too straight or your knees are too close to your body.
- To propel your kayak forward, engage your core muscles, lean forward, and twist your torso. Insert the paddle into the water near your feet, pulling it back towards your body in one fluid motion. Repeat this technique on both sides of the kayak.
- When you wish to bring your kayak to a stop, submerge the paddle in the water and maintain its position. The resistance created by the paddle against the water will slow down and eventually halt your kayak.
- For turning, paddle exclusively on one side. To turn left, paddle on the right side, and to turn right, paddle on the left side.
Basic Kayaking Strokes
There are basic paddling strokes used in kayaking that enable you to move forward, backward, or sideways and help you turn around.
1. Forward Stroke
This is the primary stroke for propelling your kayak forward.
- Plant one end of the paddle in the water near your toes.
- Propel the kayak forward by pulling the blade back towards the hip.
- While pulling the blade out of the water, rotate your torso forward while dipping the opposite blade into the water.
2. Reverse Stroke
This is used for slowing down or stopping the kayak. It can also be used to move you backward if your kayak is already stopped.
- Submerge one end of the paddle in the water between your body and the stern of the kayak.
- Look behind and propel the paddle forward to your toes.
- Let your body rotate back into a square sitting position.
- Repeat the process on the opposite side.
3. Sweep Stroke
This is a wide, sweeping stroke used for turning or changing direction. Start from the bow or stern and sweep the paddle blade in an arc towards the stern or bow.
To turn your kayak forward:
- Start by placing the paddle’s end in the water near your toes, at the kayak's bow.
- Pull the paddle back in a half-circle motion towards the kayak's stern.
- As you do this, use the paddle to rotate your torso, aiding in the turning motion.
To turn your kayak backward:
- Place the paddle’s end in the water against the kayak's stern.
- Draw the paddle forward in a half-circle motion towards the front of the kayak.
4. Draw Stroke
This stroke is used to move the kayak sideways or toward the paddle side. To move in the desired direction using your paddle:
- Place the paddle’s blade in the water towards the direction you want to go and twist your torso in that same direction.
- Ensure that the paddle is positioned at a distance from the kayak so that both your hands are above the water.
- Pull the paddle towards you to draw the kayak closer to the blade.
Tips for First-Time Kayakers
Make it easy on yourself if you’re about to go on your first non-guided kayak outing. Here’s what you must do:
Choose a proper location
Opt for a small, calm lake or pond where you can easily spot the opposite shoreline. It’s best to choose a calm body of water with minimal powerboat traffic to avoid dealing with excessive waves that may disrupt your kayaking experience.
Go on a sunny day
Don’t complicate your trip by learning to kayak in adverse weather conditions. Going on a sunny and windless day will keep you comfortable, letting you enjoy the experience.
Make yourself visible
Launch your kayak from a shoreline that is visible to people on land. If you’re kayaking alone or with a group staying on the beach, having others around who can offer assistance or emergency help is essential.
Start with short and safe trips
Plan your initial kayaking trips to be brief and safe. Pick a bright and sunny day without any forecast of rain or strong winds to make the environmental conditions more predictable. Be aware of your own limitations and underestimate your paddling endurance. Overexerting yourself during the first few trips may make it challenging to return to shore. Start with an hour-long trip and gradually increase the duration as you gain comfort and confidence.
Safety Tips for Kayaking
Keep these tips in mind to ensure a safe trip:
- Do not paddle alone. Always have a buddy with you when you’re out on the open water.
- Launch on a gently sloping, sandy beach.
- Wear a helmet and a floatation device. Make sure they are properly fitting and are Coast Guard-approved.
- Only kayak in waters you can handle.
- Do not drink alcohol or take drugs before and during kayaking.
- Don’t kayak in bad weather conditions.
- Know what kind of places to avoid, as well as tides, currents, and weather forecasts.
Conclusion
Kayaking can be a little bit intimidating if you’re not used to water sports, but once you get a grip on it, you’ll surely enjoy the adventure. We hope this guide helps you get ready for your kayaking trip. So grab your paddle, don your gear, and embark on a journey where the boundaries between land and water blurs and quaint memories are forged.